Table of Contents
ToggleOutdoor clutter has a way of sneaking up on you, garden tools scattered across the patio, pool toys piled by the fence, holiday decorations stuffed wherever they fit. Before long, your yard looks less like a retreat and more like a storage lot. Outdoor storage bins solve this problem directly, keeping gear protected and your outdoor space functional. The key is choosing the right bin for your climate, setting it up smart, and maintaining it so it lasts years rather than seasons. This guide walks you through everything you need to know about selecting, organizing, and caring for outdoor storage bins that actually work.
Key Takeaways
- Outdoor storage bins protect your belongings from moisture, UV exposure, and temperature damage while creating organized, functional zones throughout your yard.
- Choose plastic bins for moderate climates, aluminum or steel for wet or coastal areas, and wood only if you’re committed to seasonal maintenance and sealing.
- Smart placement near where items are used (pool toys by the pool, tools by the garden) cuts retrieval friction and encourages consistent use of your storage system.
- Proper maintenance—rinsing plastic bins twice yearly, inspecting metal for rust, and sealing wood every 2-3 years—extends outdoor storage bin lifespan from two seasons to five or more.
- Elevate bins on pallets or concrete pavers, use waterproof labels for easy identification, and stack vertically to maximize space while keeping frequently used items accessible.
Why Invest in Outdoor Storage Bins
Outdoor storage bins aren’t just about hiding clutter, they protect your belongings and extend the life of everything from tools to cushions. Moisture, UV exposure, and temperature swings break down unprotected items fast. A plastic storage bin shields equipment from rain and sun damage that would otherwise require replacement within a year or two.
Bins also define functional zones in your yard. A weatherproof container near the patio keeps seasonal seating cushions organized and dry. Tool bins near the garden make weekend projects faster because you’re not hunting through the shed. When outdoor storage bins are part of your system, you spend less time searching and more time enjoying your space. Beyond functionality, a tidy yard increases curb appeal, potential buyers (or guests) notice the difference.
Choosing the Right Material for Your Climate
Plastic vs. Metal vs. Wood
The material you choose depends entirely on your climate and what you’re storing. Each option has real trade-offs worth understanding upfront.
Plastic bins are the most common choice for a reason: they’re affordable, lightweight, and resist rot and rust. Polypropylene and polyethylene hold up well in sun exposure for 3-5 years before UV degradation shows (fading, brittleness). Look for bins with UV inhibitors in the plastic, they last noticeably longer. Plastic works best in moderate climates and handles moisture without swelling or warping. The downside is that plastic cracks in extreme cold and can feel cheap if you buy the thinnest options.
Metal bins, usually steel or aluminum, handle rough weather and heavy loads better than plastic. Aluminum doesn’t rust and resists coastal salt spray, making it ideal for beach houses or humid regions. Steel is stronger but requires paint or powder coating to prevent rust: once the finish chips, corrosion spreads fast. Metal bins cost more upfront (often 2-3× the price of plastic) but last 10+ years with minimal maintenance. They’re also more attractive if you care about aesthetics beyond pure utility.
Wood bins (cedar or treated lumber) offer the best look but demand the most upkeep. Cedar naturally resists rot and insects, but it still needs sealing every 2-3 years to prevent weathering and splinters. Pressure-treated wood is cheaper and lasts longer without sealing, though it’s less attractive and can leach chemicals into soil if you’re concerned about that. Wood works in dry or mild climates but struggles in constant moisture or freeze-thaw cycles.
Climate matters most: choose plastic for dry to moderate conditions, aluminum or steel for wet or coastal areas, and wood only if you’re committed to seasonal maintenance. Storage Home Depot offers a range of materials to compare quality and durability options.
Best Organization Strategies for Outdoor Spaces
A storage bin sitting empty defeats the purpose. Smart organization means you actually use what you store, and find it again.
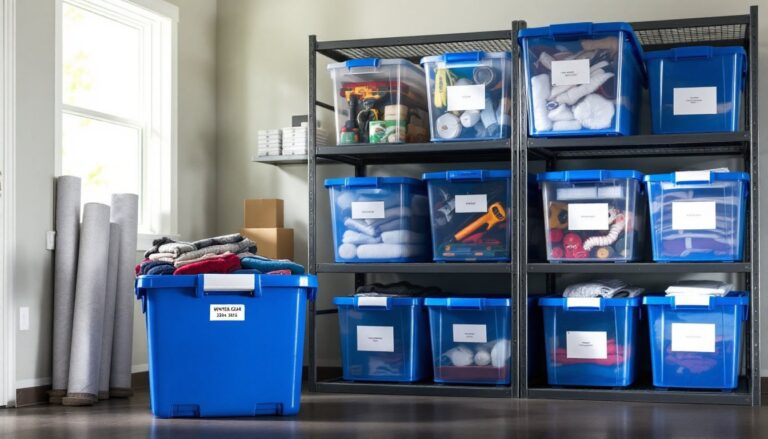
Start by categorizing items: seasonal gear (holiday lights, pool toys), gardening tools (hand tools, pots, fertilizer), maintenance supplies (cleaners, lubricants, weatherproofing), and seating/cushions. Assign one bin type to each category rather than mixing everything together. If you have multiple small bins, label them clearly with a waterproof marker or label maker. Labels take 30 seconds and save hours of digging.
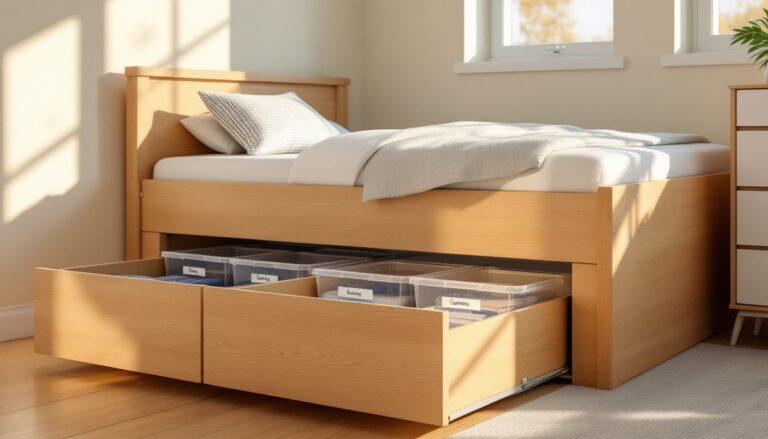
Use vertical stacking whenever possible. Most plastic and metal bins are designed to nest or stack safely, check the weight limits on the label. Stacking frees up floor space and makes the patio look cleaner. Keep frequently used bins (like seasonal cushions) at eye level or easy reach: store less-used items higher or deeper.
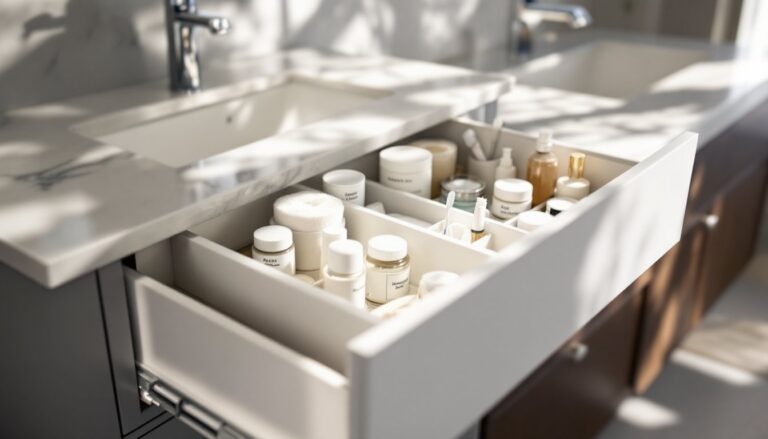
For small items prone to getting lost (hardware, garden clips, small tools), use outdoor storage solutions with interior dividers or store them in labeled smaller containers inside a larger bin. This prevents a bin from becoming a dumping ground where you can’t find anything.
Rotate what’s accessible based on season. In winter, move summer patio cushions to the back and bring forward snow tools or holiday decorations. This natural rhythm keeps your most-used items accessible without cramming the bins too full.
Maximizing Space and Accessibility
Bin placement affects how much you’ll actually use them. Position storage bins near where items are used: pool toys near the pool deck, gardening supplies near the garden beds, tool bins near the workshop or garage entrance. This cuts the friction of putting things away and retrieving them.
Measure your available space honestly before buying bins. A bin that barely fits your patio corner might block traffic or look cramped. Leave at least 12-18 inches of clearance around bins so you can actually open the lids without maneuvering furniture or stepping over items. This sounds obvious, but undersized patios often lead to overstuffed, inaccessible corners.
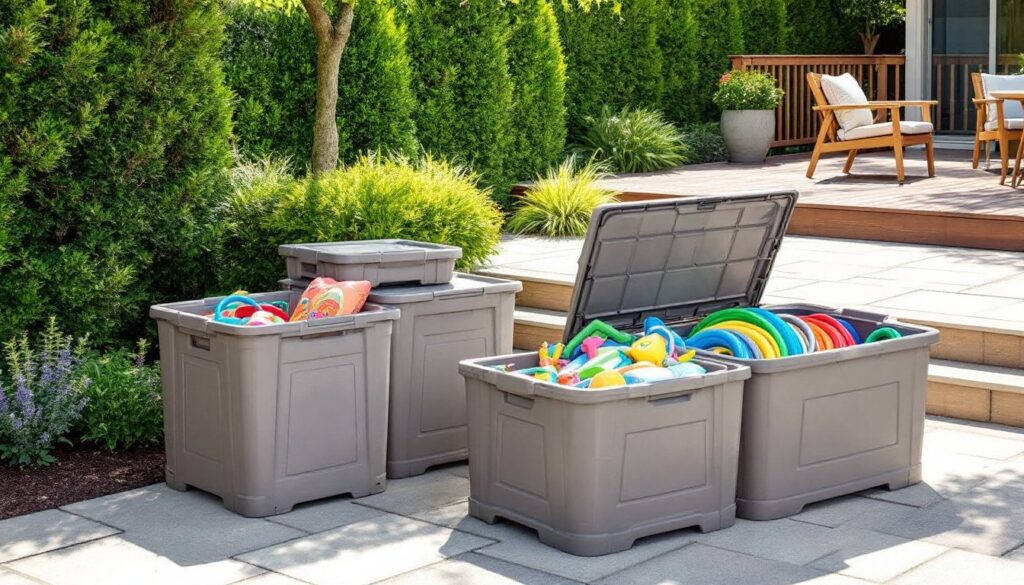
Elevating bins on a simple pallet or concrete pavers keeps water from pooling underneath and protects the bin bottom from moisture and rot. This $10-15 step extends bin life significantly, especially in rainy climates. Make sure the base is level so the bin sits stable and the lid closes properly.
For outdoor bins with tight budgets, grouping several smaller bins looks neater than one massive container and gives you flexibility if one item gets used more often. A cluster of three 30-gallon bins takes up less visual space than a 90-gallon single unit and is easier to access. Consider your yard layout, narrow side yards may need long, shallow bins rather than tall, deep ones.
Maintenance Tips to Extend Bin Lifespan
A $50 bin lasts two seasons with no care or five seasons with basic maintenance. The difference isn’t complicated.
For plastic bins: Rinse them with a garden hose twice a year (spring and fall) to remove algae, dust, and mold that accumulate from moisture and shade. Use a soft brush if stubborn grime builds up. Don’t use pressure washers on thin plastic, the force can crack panels. Store bins in a shaded area if possible: consistent sun exposure fades and brittles plastic even with UV inhibitors. Check hinges and latches yearly: replace them if they crack (most hardware stores stock universal plastic hinge kits for $3-5).
For metal bins: Inspect aluminum for corrosion (white chalky buildup) and steel for rust spots monthly, especially after rain or near salt water. Wipe dry if wet, and use a fine abrasive pad to clean early rust spots before they spread. Touch up paint or powder-coated finishes with matching spray paint ($8-12 per can) as soon as you spot chips. Rusted metal only gets worse, so catching it early saves the entire bin from being compromised.
For wood bins: Seal or stain every 2-3 years (more often in humid climates). Sand rough spots lightly before resealing. Keep gutters and drainage clear so water doesn’t collect on top of the bin. Check the bottom and joints for soft spots or insect damage annually, these signal rot that’s harder to fix once advanced.
For all bins: Empty and dry them completely before storing items for the season. Moisture trapped inside ruins cushions and encourages mold. Keep lids closed to prevent debris and rainwater from collecting inside. If a lid cracks or warps, replace it sooner rather than later, an open bin defeats the whole purpose of weather protection. Many manufacturers sell replacement lids for $15-30, cheaper than a new bin.
Conclusion
Outdoor storage bins transform a cluttered yard into an organized, functional space, but only if you pick the right material, place them strategically, and maintain them. Plastic works for most climates, metal handles wet or coastal conditions, and wood suits dry areas where aesthetics matter and you’re willing to maintain it. Resources like Real Simple offer practical outdoor storage ideas to inspire creative placement. Start with one or two bins in high-traffic areas, organize by category, and expand from there. A well-maintained outdoor bin system pays for itself in the first season by protecting items you’d otherwise replace.