Table of Contents
ToggleA cramped bathroom with nowhere to stash toiletries, towels, and cleaning supplies is every homeowner’s frustration. The good news? You don’t need to gut your space or hire a contractor to create target bathroom storage that actually works. Whether you’re dealing with a tight apartment bathroom or a master suite that’s somehow still cluttered, smart storage solutions can double your usable space in a weekend or two. This guide walks you through practical, project-friendly storage options that fit real bathrooms, not just Pinterest dreams, and shows you how to maximize every inch without busting your budget.
Key Takeaways
- Target bathroom storage solutions maximize space by utilizing dead zones like walls above the toilet, corners, and vanity sides without requiring expensive renovations or contractors.
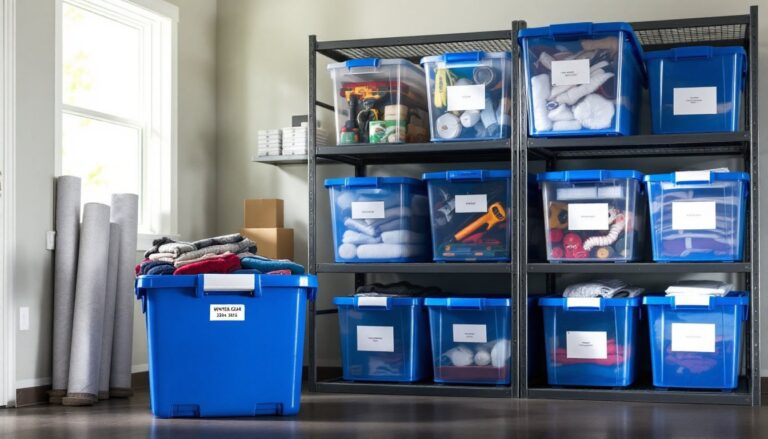
- Assess your storage needs by categorizing items into daily essentials, backup stock, and occasional-use goods, then assign each category to accessible or hidden spots based on frequency of use.
- Wall-mounted shelves and cabinets are the most efficient storage options, offering clean aesthetics while freeing up floor space and using typically wasted vertical square footage.
- Use moisture-resistant materials like sealed wood, composite, or powder-coated metal for all bathroom storage to prevent rust, warping, and mold that lead to costly replacements.
- Under-sink organization with adjustable shelving and pull-out drawers transforms that awkward prime real estate into functional storage while safely accommodating existing plumbing.
- Most target bathroom storage projects, including floating shelves and over-toilet units, can be completed in a weekend using basic tools and cost between $30–$500 depending on your choices.
Assess Your Current Bathroom Layout and Needs
Before buying a single shelf or cabinet, spend fifteen minutes with a tape measure and honest eyes. Walk around your bathroom and identify dead zones: the wall above the toilet, the corner nobody uses, the gap beside the vanity. Measure your available space, height, width, and depth matter. A floating shelf works great above the toilet, but you need at least 8 inches of clearance from the tank to the underside of the shelf so people don’t bonk their heads.
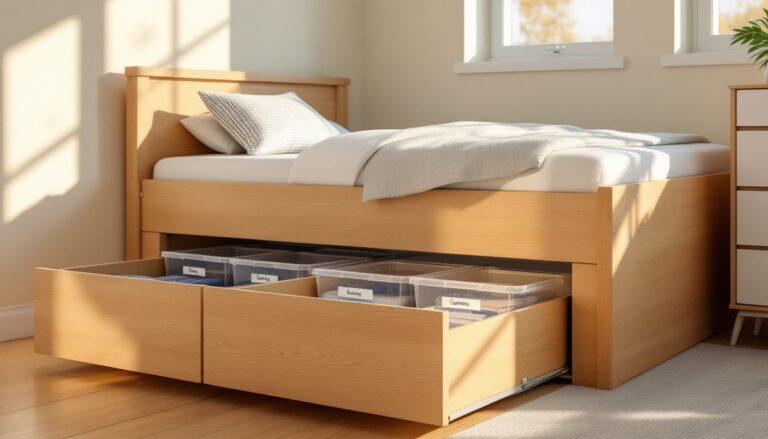
Next, audit what you actually store. Separate items into categories: daily essentials (toothbrush, deodorant, medications), backup stock (extra toilet paper, soap, shampoo bottles), and occasional-use items (hair dryer, cleaning supplies, first aid kit). This tells you how much storage you need and whether you want it visible or hidden. Daily items benefit from quick-access spots: backup stock can live higher or deeper. A small bathroom often demands vertical thinking: a larger one might handle island-style storage in the middle.
Consider moisture and humidity, too. Bathrooms are damp environments, and wood or unfinished metal won’t last. Look for storage solutions with water-resistant finishes, sealed wood, or materials like plastic, composite, or powder-coated metal. This small detail prevents rust stains, warped shelves, and mold, failures that force costly redo jobs down the road.
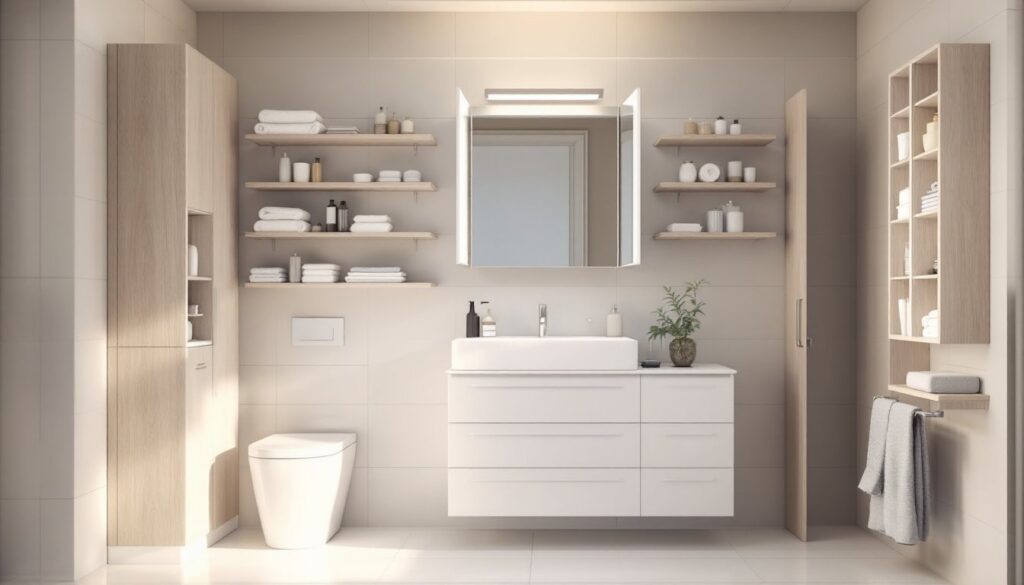
Wall-Mounted Storage Options for Maximum Space Efficiency
Wall-mounted storage is the bathroom’s best friend. It frees up floor space, keeps items visible and accessible, and uses square footage that would otherwise sit empty. The key is anchoring properly, drywall alone won’t hold much weight, so you need toggle bolts, molly bolts, or studs. If you’re mounting above the toilet or on a side wall, use a stud finder to locate vertical studs (typically 16 inches apart on center). Studs provide rock-solid anchoring and support heavier cabinets or multiple shelves.
Floating Shelves and Cabinets
Floating shelves create a clean, modern look and are surprisingly easy to install. They come in wood, composite materials, and metal, all available with water-resistant finishes. A typical 24-inch floating shelf costs $40–$150 depending on material and weight capacity: installation takes an hour if you hit studs. Use a level during installation: shelves that slope even slightly look sloppy and things slide around.
For hidden storage, wall-mounted cabinets work beautifully above the vanity or beside the mirror. Choose cabinets with soft-close hinges so doors don’t slam and wake the household. A standard 18-inch-deep medicine cabinet runs $100–$400. If you don’t have studs where you want the cabinet, French cleats (two interlocking wooden strips mounted to studs and cabinet) distribute weight over a larger area and look invisible once installed.
Wall space beside the vanity often goes unused. A tall, narrow cabinet or a set of 3–4 stacked shelves fits perfectly and stores everything from extra towels to backup cleaning supplies. This is where target bathroom storage solutions really shine, they use awkward spaces that furniture can’t occupy. Mount shelves at least 10 inches apart if you’re storing bottles and jars: adjust spacing tighter if you’re stacking rolled towels.
Vertical and Corner Storage Solutions
Corners are bathroom dead zones that most people ignore. A typical corner wastes about 2 square feet of usable storage, which adds up in a small space. Vertical solutions make corners earn their keep.
Tall Towers and Corner Shelving
Tall, narrow towers (also called corner cabinets or corner shelving units) are designed specifically to fill corner voids. They range from 65 to 84 inches tall and typically measure 12–16 inches deep and wide, small enough to fit beside a toilet or in a shower alcove. Most come as freestanding units that don’t require anchoring, making them renter-friendly and moveable if your bathroom gets a redesign. Prices run $150–$500 depending on materials and shelf count.
For a custom corner solution, install a corner shelving system made from metal L-brackets and wood shelves. Measure and cut your shelves to fit the corner’s depth (usually 14–18 inches), then anchor each L-bracket to studs or toggle bolts. This approach is cheaper, often $80–$150 for multiple shelves, and lets you choose shelf spacing and material. Seal or finish the wood with a water-resistant coating before hanging.
Over-the-toilet shelving units are workhorses. They mount directly to wall studs behind the toilet and add 3–4 shelves without taking floor space. Weight capacity matters here: most solid units hold 50–100 pounds total, which is plenty for towels and toiletries but won’t support a mini bar. Secure the top of the unit to studs with heavy-duty brackets: a 6-foot unit is top-heavy and dangerous if it tips.
When designing vertical storage, keep frequently used items at eye level (48–66 inches from the floor). Stock and occasional items can live higher or lower. Avoid blocking windows, mirrors, or outlets with shelves: it complicates repairs and looks cluttered.
Under-Sink and Vanity Organization Strategies
The space under the sink is prime real estate, yet many bathrooms waste it on loose bottles and grime. The challenge: pipes and drains make this zone awkward to use. Start by clearing everything out and wiping down the cabinet interior with a damp cloth and mild soap. Look for existing water damage or soft spots in the wood: rot spreads fast in bathrooms and requires panel replacement or cabinet swap, not a fun DIY escalation.
Use adjustable shelving or pull-out drawers to maximize the vertical space around pipes. Measure the depth and height of your vanity cabinet (typically 20–24 inches deep and 30–36 inches tall), then buy shelving units that fit. Products like expandable under-sink shelf organizers run $30–$80 and sit directly on the cabinet floor, holding cleaning supplies, extra soap, and backup toiletries. Avoid stacking loose bottles: they tip and leak. Instead, use plastic bins or slide-out trays to corral items and keep them accessible.
For cabinets with exposed pipes, cut or drill holes in shelves to let pipes pass through safely. Use pipe sleeves or foam insulation around pipes where shelves might pinch or rub. Check that nothing hangs into or blocks the P-trap (the U-shaped pipe under the drain): water needs to flow freely, and blockages cause backups and clogs.
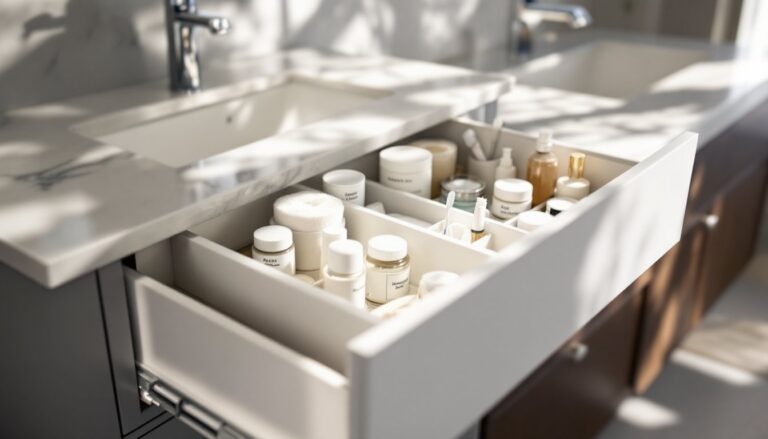
Drawer dividers transform a vanity drawer into organized zones for hair tools, brushes, makeup, and medications. Stick-in plastic dividers are cheap and effective. For a cleaner look, a local woodworker or carpenter can build a custom drawer organizer to fit your drawer’s exact dimensions, usually a $100–$200 investment that lasts for years.
If your vanity has a drawer, reserve it for daily essentials and items you want hidden. Everything else belongs in open shelves or wall-mounted cabinets where you can see what’s running low. Organization experts at Real Simple emphasize the psychology of accessibility: when everything has a home and stays visible, you’re more likely to maintain the system long-term.
Conclusion
Smart bathroom storage isn’t magic, it’s a combination of honest assessment, vertical thinking, and picking the right tools for your layout. Start by evaluating what you have, then choose solutions that match your space, budget, and style. Most projects (floating shelves, over-toilet units, under-sink organizers) take a weekend and require only basic tools. When in doubt, reach out to a local contractor: mounting heavy cabinets in tile or assessing load-bearing capacity is worth a professional’s hour of time. Your bathroom will thank you for the breathing room, and guests will wonder where you stashed all that clutter.