Table of Contents
ToggleCloud storage for security footage sounds convenient, until you realize subscription fees stack up, data breaches happen, and you’re dependent on internet speed to access your own recordings. Local storage security cameras offer a different approach: footage stays on your premises, under your control, with no monthly cloud bills. Whether you’re protecting a modest cottage or a larger home, understanding how local storage works helps you build a security system that actually fits your needs and budget. This guide walks you through the options, installation realities, and maintenance steps to get your system running right.
Key Takeaways
- Local storage security cameras keep your footage on premises under your control, eliminating monthly cloud subscription fees and privacy concerns from third-party data exposure.
- Network Video Recorders (NVRs) are the most practical solution for whole-home security, storing 500–700 hours of 1080p video on surveillance-grade hard drives that cost $80–150 per TB.
- SD card storage works best as a backup or for single-camera setups, offering 3–7 days of footage at a lower cost but becoming impractical for multi-camera systems.
- Proper installation requires planning camera placement for clear lines of sight, running ethernet cables efficiently, positioning your NVR near the router with adequate ventilation, and installing a UPS to prevent data loss during power outages.
- Maintain your local storage system by monitoring drive temperatures (40–50°C), replacing hard drives every 3–5 years, backing up critical footage immediately, and securing your NVR with strong passwords and firmware updates.
Why Local Storage Matters for Your Home Security System
Local storage keeps your security footage on hard drives, memory cards, or dedicated devices inside your home, not on someone else’s servers. That matters for several practical reasons.
First, privacy and control stay in your hands. Your recordings don’t travel across the internet or get indexed by third-party services. Second, you eliminate recurring cloud subscription fees: a one-time investment in storage hardware costs far less than paying $10–30 per month indefinitely. Third, local storage works even if your internet goes down, a real advantage during storms or network outages when you might need your cameras most.
There’s also the reliability factor. Cloud services get hacked, and your account can be shut down if a provider goes out of business or changes terms. With local storage, you’re not reliant on a corporation’s infrastructure. Finally, local systems often retain footage longer. A 1 TB hard drive stores roughly 500–700 hours of 1080p video (depending on compression), giving you weeks or months of continuous recording on a single drive.
Types of Local Storage Solutions for Security Cameras
Hard Drive and NVR Systems
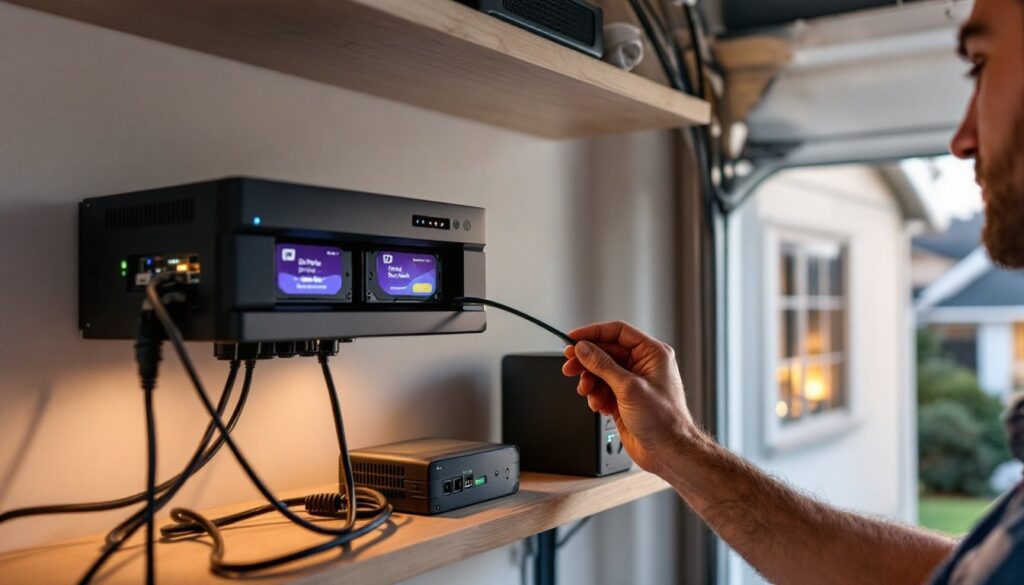
Network Video Recorders (NVRs) are the workhorse of local storage. An NVR is a dedicated box (usually about the size of a small external drive or router) that connects to your cameras over ethernet or WiFi and stores footage on internal hard drives. Most residential NVRs accept one to four 3.5-inch SATA hard drives, typically ranging from 1 TB to 4 TB per drive.
When selecting a drive, look for models labeled surveillance-grade rather than standard desktop drives. Surveillance drives (like WD Purple or Seagate SkyHawk) are optimized for 24/7 operation and cost $80–150 per TB. Desktop drives weren’t designed to run continuously and fail faster under constant recording. Set up is straightforward: the NVR connects to your cameras via ethernet cables (PoE, Power over Ethernet, lets one cable carry both power and data), then connects to your home network so you can view footage on a phone or computer.
NVR systems typically range from $300–800 depending on the number of camera inputs and drive capacity. Some units include 2–4 TB of storage pre-installed: others require you to buy drives separately.
SD Cards and MicroSD Storage
Individual cameras with built-in SD card slots offer a simpler, cheaper entry point if you’re only securing one or two areas. Most battery-powered and WiFi cameras (like Ring, Wyze, and Blink models) support microSD cards up to 128 GB or 256 GB, storing 3–7 days of continuous footage depending on resolution and compression.
SD cards cost $15–40 and are easy to swap out. The trade-off: you’re limited to short retention periods, and managing multiple cards across several cameras gets messy fast. SD card storage works best as a secondary backup or for a single camera covering a specific spot (garage, front door, mailbox). For whole-home security with three or more cameras, an NVR is more practical. Learn about home security camera comparisons to see how different cameras handle local storage options.
Installation and Setup Considerations
Installing a local storage system isn’t rocket science, but skipping prep work is where most DIY projects stumble.
Plan your camera placement first. Walk around your property and mark spots: front entry, back patio, garage, driveway. Each camera needs a clear line of sight to what you’re monitoring: bushes and overhangs block infrared and create blind spots. Mount cameras at least 8–10 feet high to reduce tampering risk and improve viewing angles. For IP cameras wired to an NVR, you’ll need CAT6 ethernet cable run from each camera to the NVR location, inside through walls, conduit, or along exterior under eaves. Plan runs before drilling: it’s easier to fish cable than patch holes twice.
Choose an NVR location close to your router and away from water (garage, utility closet, or den work well). Make sure it has adequate ventilation, hard drives generate heat, and overheating shortens drive life. Install a UPS (uninterruptible power supply) rated for your NVR’s wattage so the system stays running during brief power cuts and shuts down cleanly if power is out long-term. A 1000VA UPS costs $100–150 and prevents data corruption from sudden shutdowns.
For WiFi cameras with SD cards, setup is plug-and-play: download the app, scan the QR code, insert an SD card into the camera, and you’re recording. Most modern systems handle 2.4 GHz WiFi, though 5 GHz offers better throughput if your router supports it. Compared to reviews on smart home device comparisons, wired systems offer more stable connections but require initial cable work: wireless cameras sacrifice a bit of reliability for installation convenience.
Maintaining and Securing Your Local Storage
Local storage requires basic upkeep to stay reliable and secure.
Hard drive maintenance starts with monitoring temperature. Most NVR systems display drive health in their interface: aim to keep drives between 40–50°C (104–122°F). Dust buildup reduces airflow, so clean the NVR’s intake vents and filters every 6 months. Replace hard drives every 3–5 years, they’re mechanical parts with a finite lifespan. Set a reminder when you install drives so you don’t discover a failed drive when you need footage for an insurance claim.
Backup critical footage. If you witness a break-in or accident, export and save that footage to a USB drive or cloud storage immediately. Your NVR’s interface lets you export clips: don’t rely on the main drive being intact later. Most systems also allow scheduled automated backups to a network-attached storage (NAS) device if you want redundancy.
Secure your system against unauthorized access. Change the default admin password on your NVR to something strong (12+ characters, mix of upper/lowercase, numbers, symbols). Disable remote access from the internet unless you absolutely need it, a misconfigured NVR exposed online is a liability. If you do enable remote access, use a VPN to encrypt the connection. Update your NVR’s firmware when patches are released: security vulnerabilities get discovered regularly. Consult smart home technology news for the latest security advisories affecting your model.
Store spare drives and cables in a dry place: keep one extra surveillance-grade drive on hand so you can swap a failed drive without waiting for shipping. Label drives with the date installed so you track replacement schedules easily.
Conclusion
Local storage security cameras put you back in control. You own your footage, avoid subscription costs, and keep your privacy intact. Whether you start with a single WiFi camera and microSD card or invest in a multi-camera NVR system, the key is honest assessment of your actual needs, not what the marketing suggests. Plan your installation carefully, invest in surveillance-grade hardware, and commit to basic maintenance. Done right, a local storage system delivers years of reliable protection and peace of mind.